MXA VIDEO: WE TEST THE 2024 KTM 450SXF
MXA VIDEO: WE TEST THE 2024 KTM 450SXF

The 2024 KTM 450SXF is officially here and it’s the first new dirt bike to come down the testing pipeline for the new model season. The KTM 450SXF was all-new for 2023, and the 2024 season was a quiet one for updates, with only the suspension, graphics and $11,099 retail price being different. In this video, MXA test rider Josh Mosiman explains the pros and cons of the new bike and shares what we’ve learned on this bike so far, after spending over a year riding this new platform.
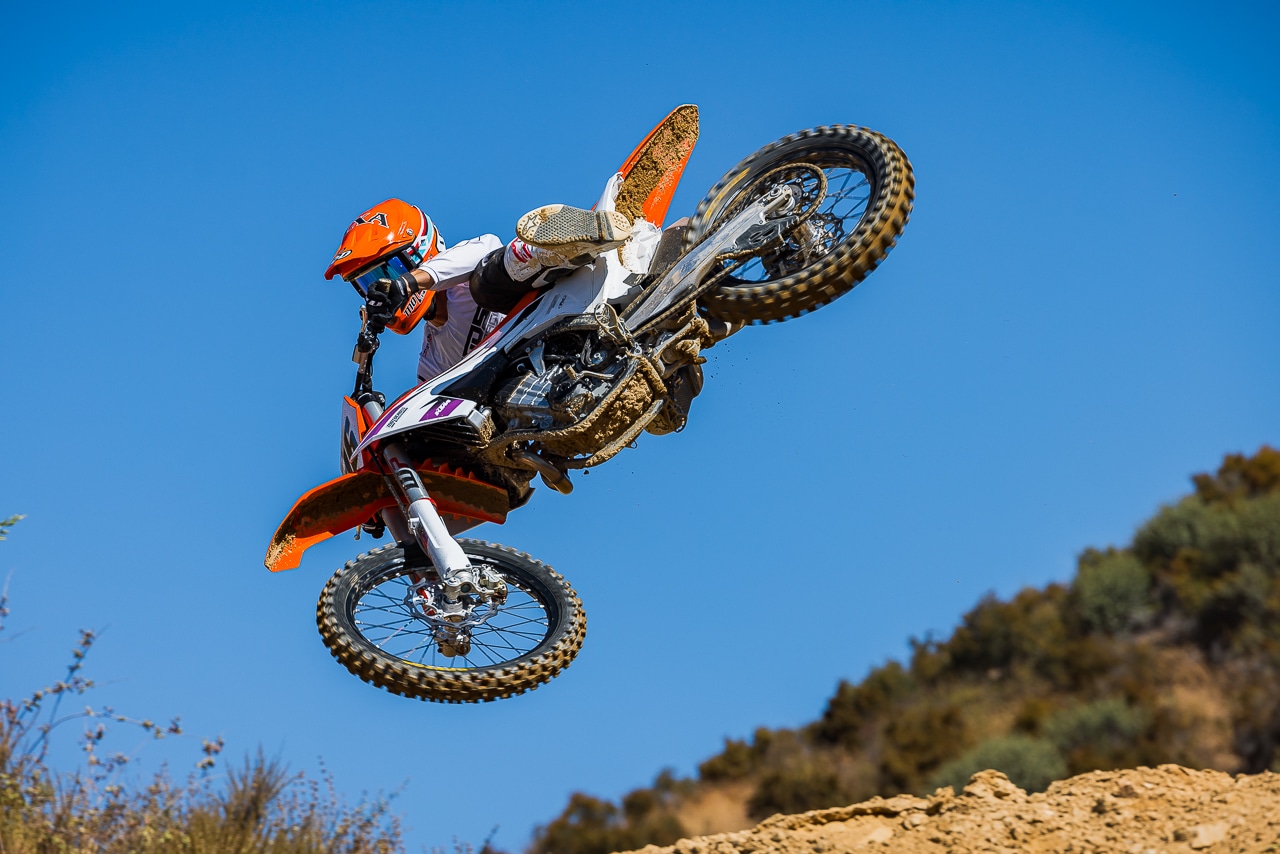 Here’s a view of the 2024 KTM 450SXF’s undercarriage.


Comments are closed.